¶ Network Eligibility
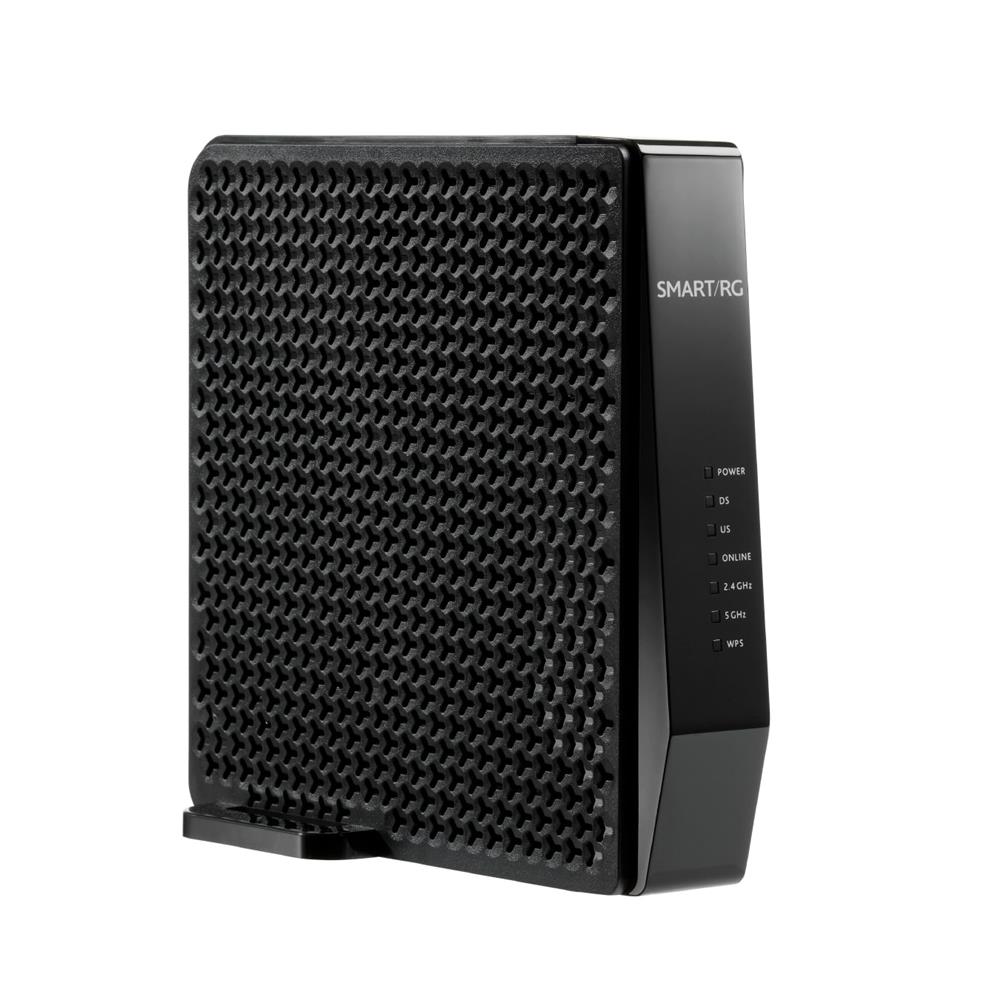
The SmartRG SR808ac available from NCF has been certified by the following cable network vendors for operation on their infrastructure:
- Cogeco (Ontario and Quebec)
¶ Firmware
Current certified firmware version: 1.0.0.14 (on the Cogeco cable networks)
Cable network operators control what cable modems and firmware versions can be used on their networks. Operators run all cable devices and firmware versions through their own testing process, after which the device and firmware are certified for use on the cable network. After the testing and approval process of a new version of firmware for a cable device, cable network operators may then automatically upgrade all cable modems connected on their network with the latest certified firmware.
NCF does not have access to firmware that it can provide to members.
¶ Accessing the Configuration
To access the SmartRG SR808ac Configuration:
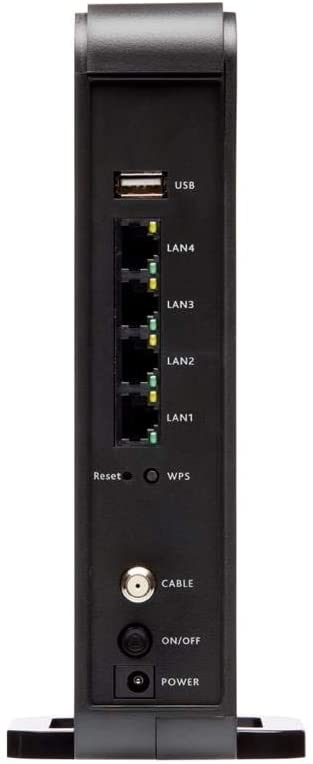
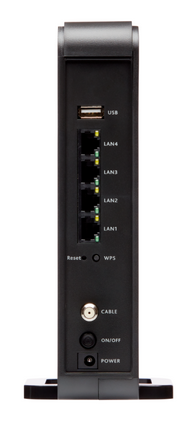
- Connect a device to the modem by plugging an ethernet cable from your device into one of the LAN ports on the back of the modem, or by connecting your device to the modem over Wi-Fi.
- Open up a web browser on your connected device.
- Enter 192.168.0.1 in your web browser’s URL bar.
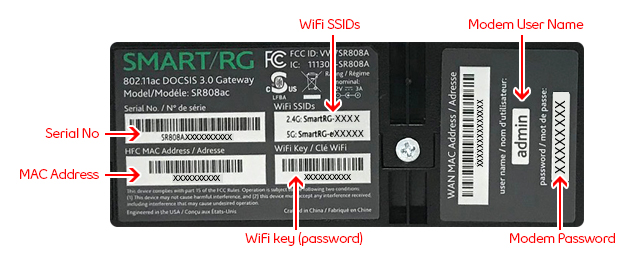
- A login window for the SmartRG SR808ac will appear. The default username and password are case-sensitive, and are:
- Username: admin
- Password:
- Select Login.
¶ Modes of Operation
- Routed - Functions as both a modem and Wi-Fi router, which is recommended for most members. Another router can be added to extend the network, but each network must use a different subnet.
- Bridge - (Advanced) Functions only as a modem. A separate router is required to provide Wi-Fi.
¶ Factory Reset
When you reset the SmartRG SR808ac to its factory default settings, all user-configured settings are lost, and the modem is returned to its initial configuration state.
To factory reset the SmartRG SR808ac:
- Using a pin or pencil tip, press and hold the recessed RESET button at the back of the modem at least 1 second.
The SmartRG SR808ac will turn off and on again, and load with its factory default settings.
¶ Modem Lights
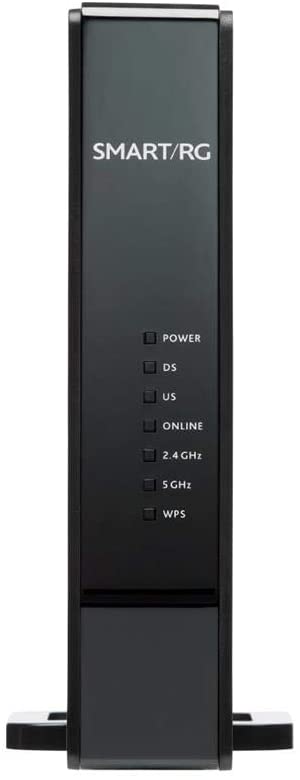
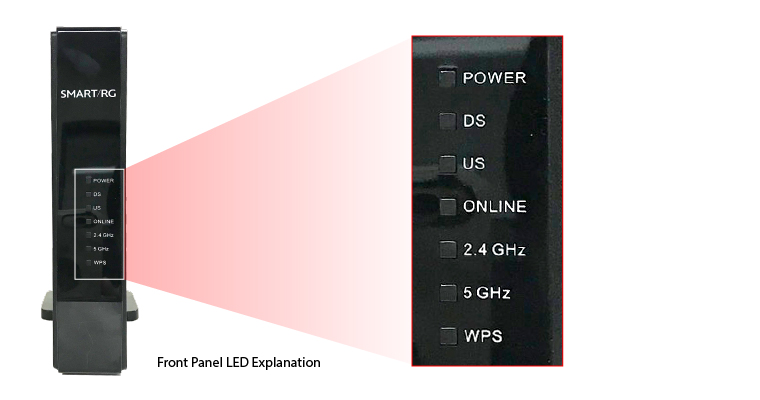
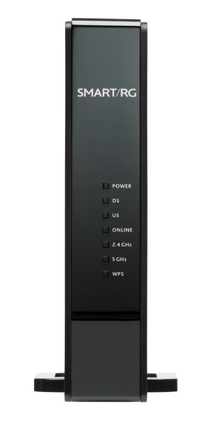
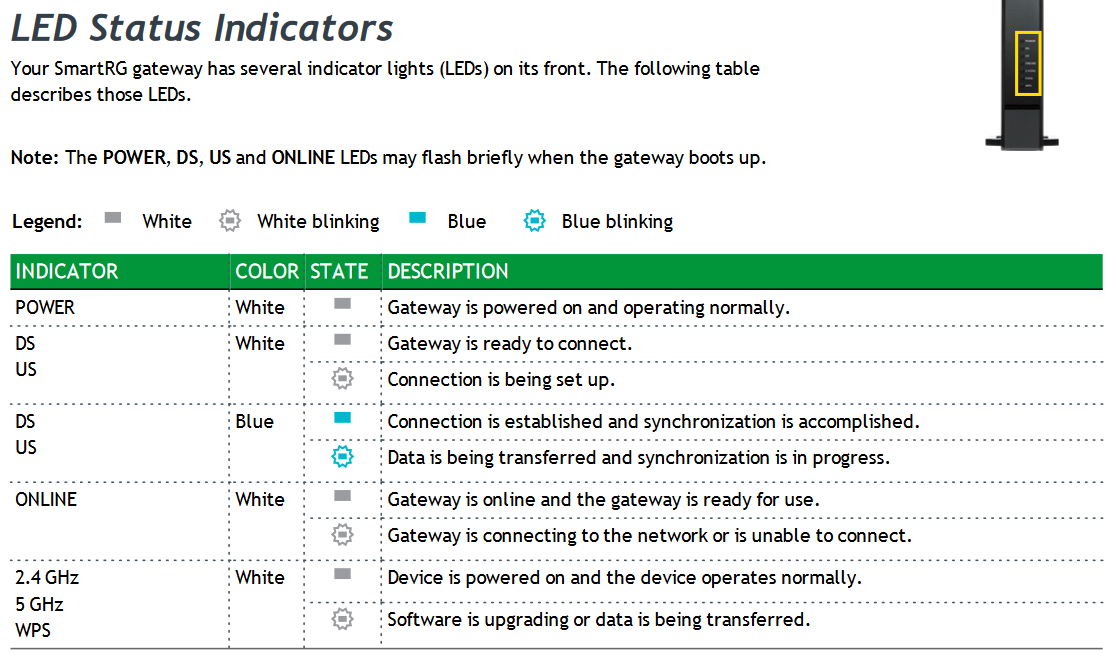
The operational status of the SmartRG SR808ac is indicated by lights (LEDs). These LEDs indicate the status of the modem’s power, downstream connection (DS), upstream connection (US), internet connectivity (Online) Wi-Fi availability (2.4GHz and 5GHz), and active Wi-Fi Protected Setup (WPS).
Information is communicated by the light colour (white or blue) and state (solid, off, or flashing).
Here’s a summary of how to read the lights on the SmartRG SR808ac:
¶ Port Forwarding
Port forwarding can be configured by following the following steps.
- After logging into your modem, select the ‘Advanced’ tab followed by the ‘Forwarding’ option
 2. Select ‘Create IPv4’ and configure your port forwarding rules. A single port must be repeated in the Start and End columns
¶ Changing Wireless Channels
- From the Status page select the Wireless tab followed by the Radio menu

2. For the Control Channel drop down menu, select the least congested channel

¶ Changing 5Ghz band WiFi Name
From the Status page select the Wireless tab followed by the Radio menu2. Select the 5 Ghz band from the Wireless Interface drop down menu  3. Select the Primary Network menu
4. Rename the Network Name (SSID). We recommend adding ‘_5Ghz’ to your current WiFi name. This will be your new WiFi name.
5. Ensure Automatic Security Configuration and WPA-PSK are disabled. WPA2-PSK should be enabled.  If you do not change the WPA Pre-Shared Key, your WiFi password will be the same as before.
Note: if you make these changes over WiFi, you may get knocked off the wireless network and will need to re-join it before accessing the internet again.
¶ Configuring Bridge Mode
1. Log into your modem
2. Go to http://192.168.0.1/SRGEng.asp and select the Connections link or go directly to http://192.168.0.1/RgConnect1.asp
3. Select Bridge from the eRouter Provisioning Mode and Apply the settings 
Your modem will re-boot in Bridge mode and will need to be reset to be able to access the modem settings again
¶ Images